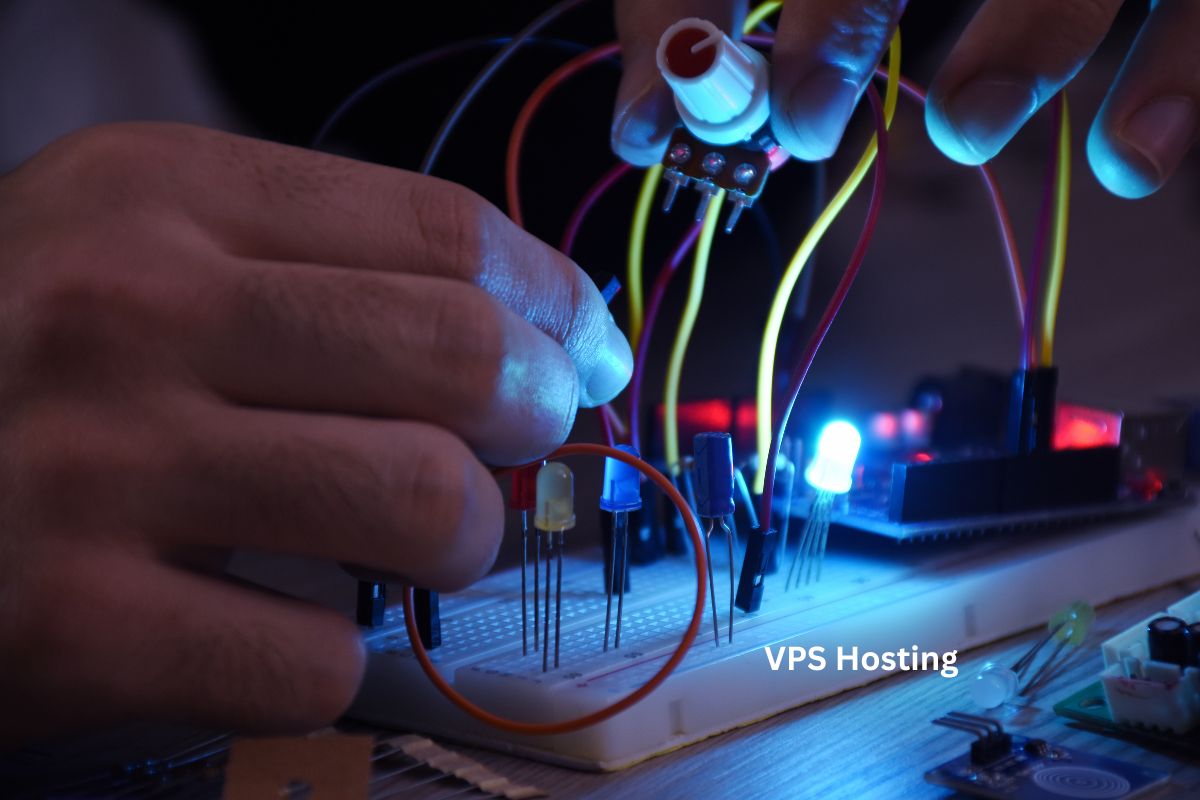
For beginners to learn and work on Arduino is the simplest and most straightforward method for them. To become acquainted, one should begin by creating simple and easy circuits. So, we’ve provided some starter Arduino projects that can help beginners learn more about Arduino boards.
1. Developing Potential
Single-board computers, such as the Raspberry Pi, have enough processing power to power some impressive maker projects, but they’re also larger and more expensive than other options. Microprocessors are used for low-cost and real-time applications.
Microprocessors are small chips that can manage various types of input and output in real-time. There are numerous types of microprocessors available, but AVR ATmega chips are among the most common. Programming microprocessors can be difficult if you aren’t used to working with them. Thankfully, manufacturers have created development boards such as the ubiquitous Arduino project ideas, which were created in 2005 by a team of engineers in Italy.
2. ARDUINO UNO PROJECTS
The Arduino Uno is a popular development board that is frequently found in Arduino Starter Kits for beginners.
It has a USB connector that provides power and connectivity for uploading software to the board. It runs at 16 MHz and is powered by an 8-bit processor, the ATmega328P, which has 2 KB of static random-access memory (SRAM) for storing program variables and 32 KB of flash memory for storing your sketches. A separate chip manages USB connectivity.
3. OLED Display
This project will teach you how to use a low-power, bright, mini OLED display. These are SSD1306-powered OLED display modules.
Connecting one of these displays is a great project for a beginner, with plenty of libraries available, such as Adafruit’s SSD1306 repository on GitHub.
4. Simple Clock
It can be intimidating to add many components when you’re just getting your head around the Arduino platform. You can connect a display to this project to make your own clock!
However, just like when you replace a watch battery, you’ll have to reset the time every time you turn on this clock. Nonetheless, this is an enjoyable beginner’s project with a satisfying outcome. You could also just look at your phone…
5. Thermometer & Hygrometer
Perhaps you’ve mastered the fundamentals of using the SSD1306 OLED display, so let’s move on. The display module can also be used with the popular u8glib library, which is a graphics library that supports a variety of monochrome displays.
Instead of buying a thermometer and a hygrometer, why not make your own? Simply incorporate a DHT11 humidity and temperature sensor into your setup. You could learn the fundamentals of physical computing and end up with a useful addition to your home!
6. Mood Lamp
Consider a color-changing lamp that turns on automatically when the room is sufficiently dark. You could make your own smooth-changing mood lamp using an Arduino Uno.
This guide will show you how to make a paper lamp, but you could use it as a prototype before finalizing the design with a 3D-printed lamp shade.
7. ARDUINO LEONARDO PROJECTS
The Arduino Leonardo board has the same layout and connector pins as the Uno, but it is powered by a different processor. Instead, the ATmega32u4 processor can be found on this board.
This runs your sketches and handles USB connectivity, and it’s also less expensive than the Uno. It differs from the Uno in one important way: it can emulate various USB devices such as keyboards and mice. This intriguing feature will be used in the following projects!
8. Emulate an Xbox Controller (XInput)
Because the Arduino Leonardo has an ATmega32u4, it can emulate an HID device! It can also emulate an Xbox controller in addition to a keyboard or mouse. This guide will teach you how to program an Arduino Leonardo to do just that!
9. Mini MIDI Controller
The instrument is an open-source MIDI (musical instrument digital interface) controller based on the Trellis and Leonardo boards from Adafruit and Arduino. The Trellis is a keypad driver system with a backlight. This build also requires four potentiometers and sixteen LEDs to illuminate the buttons.
You’ll have a DIY MIDI controller that works with iOS devices as well as analog synthesizers at the end of the project. This is an official USB MIDI device: There’s no need for virtual MIDI or serial-to-MIDI conversions anymore!
10. Custom Macro Mechanical Keypad
Have you ever wanted to automate keystrokes with a single button? Perhaps you’d like to speed up the layout of a PCB in Eagle or KiCad? Or perhaps you’d like to speed up the process of digital painting in Adobe Illustrator or Inkscape?
You can create almost any input device by building and programming your own macro keypad. You could even 3D print your own portable little case after prototyping, as shown in this guide. Alternatively, you could modify the case to make an 8-button or 12-button version.
Conclusion
The majority of simple Arduino projects use few components and teach you the fundamentals of DIY hardware. Following beginner tutorials like these is the best way to get started.
When you’re ready, why not try something more significant, like using Arduino to control your smart home?