Archery is, without doubt, the most widely practiced and enjoyed sport globally.
As a budding archery enthusiast, you want to start your homework. But with so many archery training videos out there, it can take a lot of work to know which ones are worth your time.
This article will tell you how to prepare for an amazing journey with our step-by-step guide to having a successful archery shot.
A successful archery shot- a step-by-step guide
The first step is for you to find the right archery bow. Then, make sure you’ve got all the supplies like:
- A target. Place it at least 10 yards away from objects that could get in the way or cause injury.
- A place to shoot from (preferably on flat ground).
- A set of arrows with some broadhead attached.
- Arrows (not just any arrows, but arrows that fit properly in your bow).
- A release mechanism (some bows have one built in; others need a separate release device).
After getting this necessary equipment then, you can follow these steps;
Put out a Perfect Stance
These are the ways your body parts must be positioned;
-
Arms Positioning
The arms are positioned directly in front of the body, with one arm extended out in front at a right angle and the other at an angle toward the target. The elbow should be above shoulder height and pointing towards the target while keeping both arms straight. The wrists should be held firm with the fingers together.
-
Legs Positioning
Place the legs underneath the archer to parallel each other and perpendicular to the ground. The feet should be flat on the ground with weight distributed evenly between both feet.
Position your Bow
Stand straight with your feet shoulder-width apart and your toes pointed forward. Bend at the knees and lean forward slightly; keep your shoulders back and down. Point your toes at 20 degrees outward vertically.
Get a good grip
The third step in archery is to get the bowstring in your hand. The tension on the bowstring will determine how far and fast you can shoot.
To hold a bow, place your index finger on top of the middle hole in the string (where it connects with the riser) and your middle finger on top of the bottom hole (where it connects with the limb). Keep your ring and pinky fingers tightly pressed against each other but relaxed so that they don’t move when you pull back on the bowstring with your other fingers.
Nock your Arrow
The nock is the metal piece that attaches to the string and holds it in place. When you draw back your bow, this is where your arrow will rest until released.
Here are a few tips for nocking your arrows:
- Holding the string with your left hand, place your index finger on the string between the axle hole and the center hole.
- Place your middle finger on top of your index finger, with both fingers touching the string simultaneously.
Draw your Bowstring
A bow is not a weapon until it is drawn, so a good way to begin practicing your archery shot skills is by drawing your bow.
Stand up straight with feet shoulder-width apart and knees slightly bent. Place your right arm behind you, holding the grip end of the bow between your thumb and index finger. Keep your elbow bent at 90 degrees (not locked).
Place your left hand on the bow if you’re right-handed or under it if you’re left-handed. Position it so that it will not interfere with any part of the bow during shooting.
Get your Anchor Point
The anchor point is the most important part of your bow. It is where you’ll attach your string and ensure it stays in the right place.
The anchor point should be at least an inch or two above where you rest your arm to keep from getting pinched by the bowstring when you draw back on it.
You can use a piece of string, a pen, or a pencil to help you keep track of where your anchor point is. Just mark off where this line goes through your string and the hole in your riser.
Once you mark where this line goes through both holes, take a large screwdriver and insert it into that line at an angle so that when you turn it around, it will make contact with one end of your string while leaving enough space for another end of the string. Then hold onto that screwdriver while pulling on one end of your string until it reaches its maximum length.
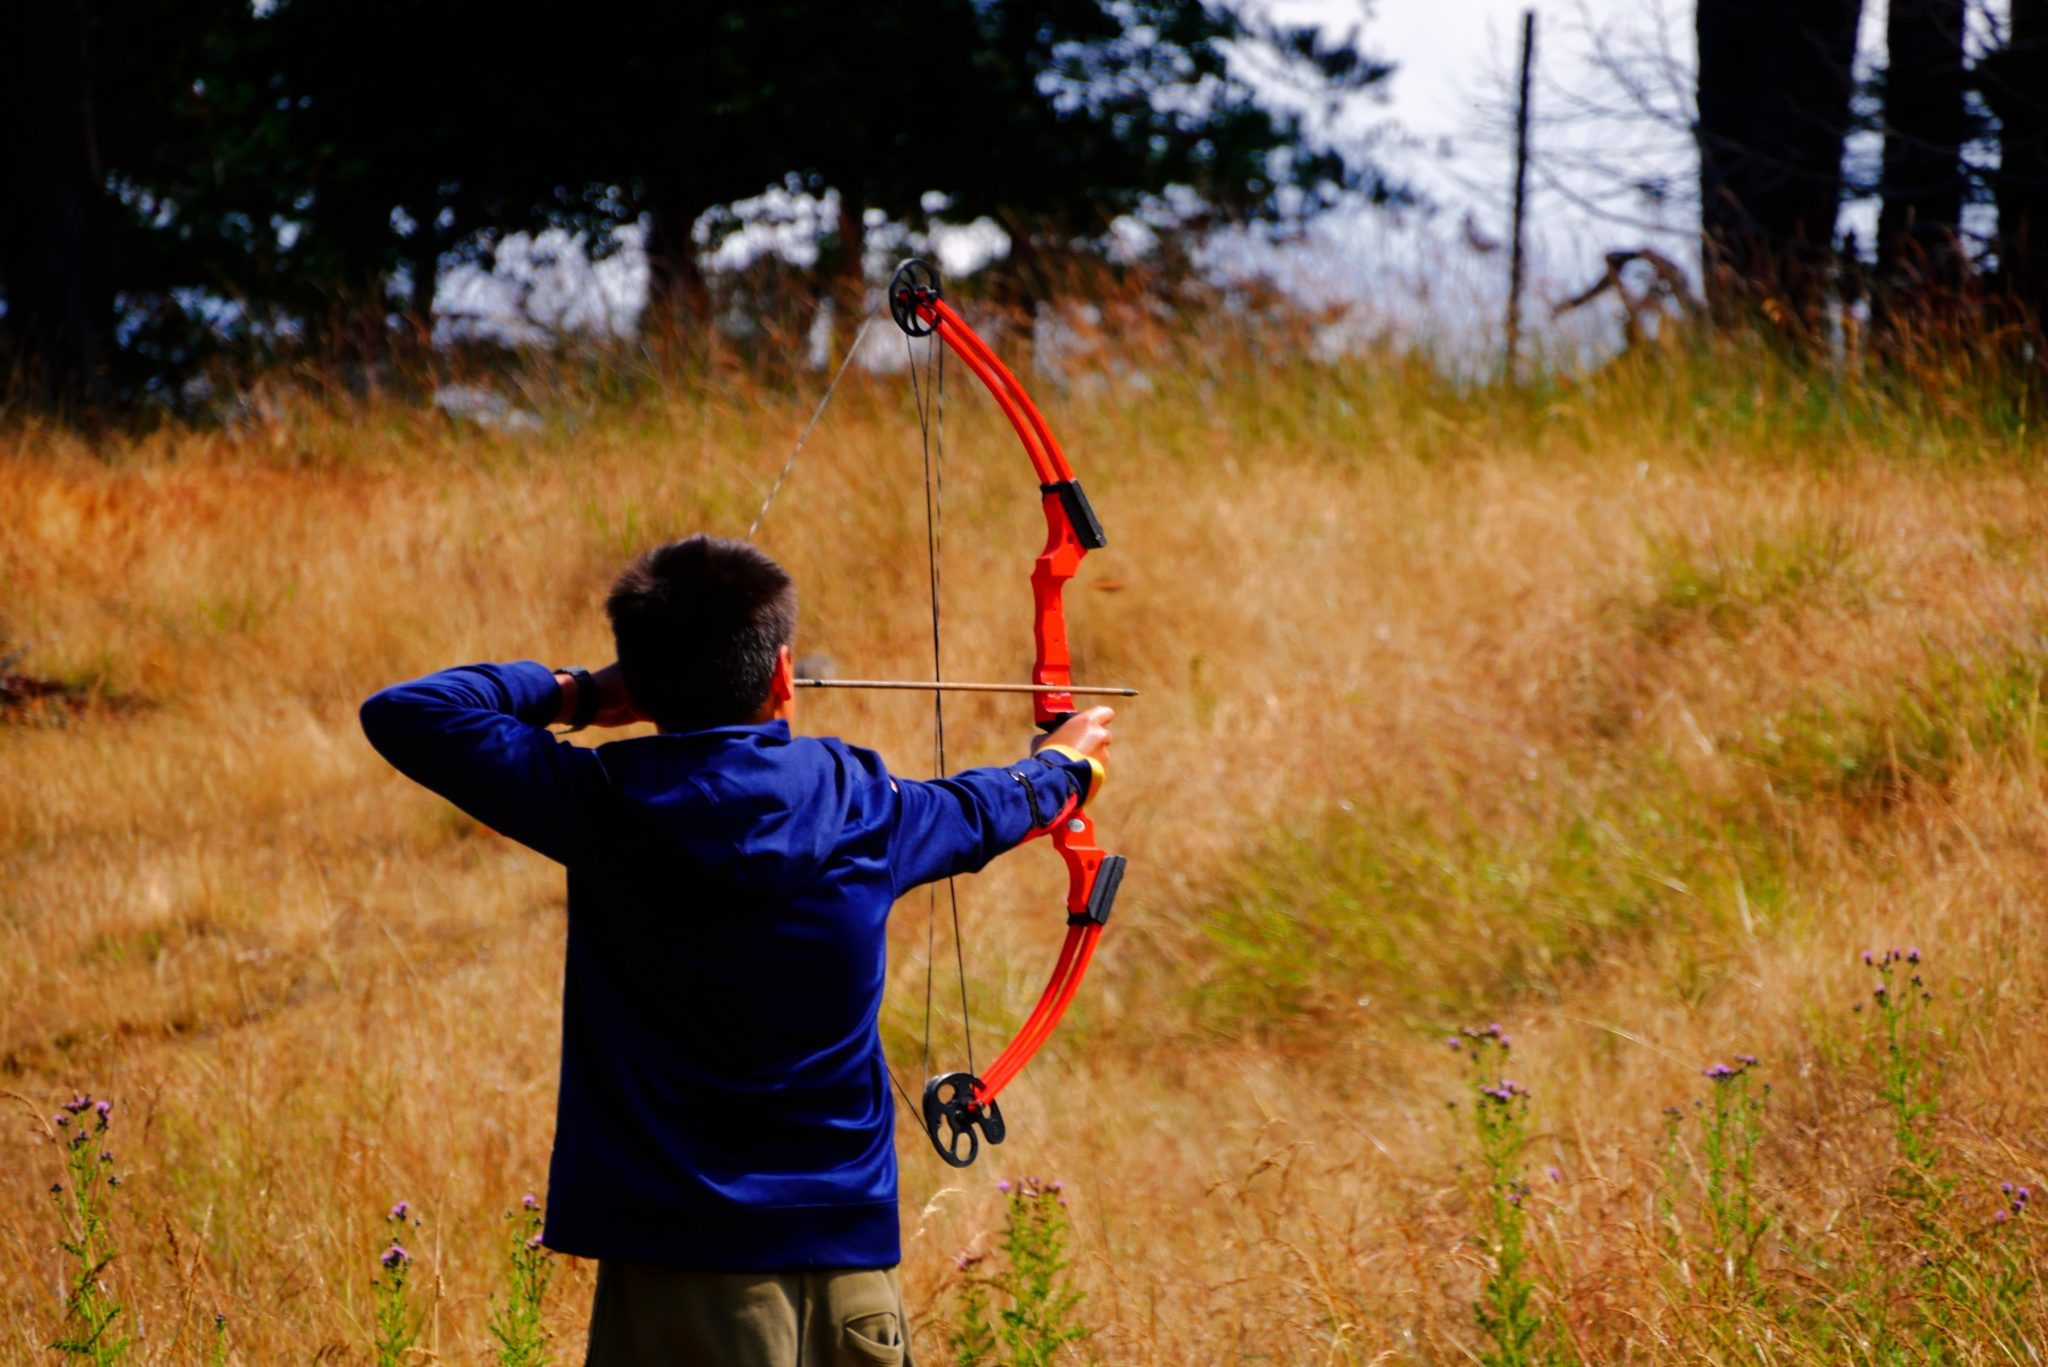
Aim your Arrow
When aiming your arrow, ensure you are looking directly at your target and not through it. It will help to instinctively “shoot where you look.”
Take your time to get a good-sight picture of your target before shooting off an arrow. It will help you better understand where exactly you need to hit your target.
Release your Arrow
The release is the final phase of the archery shot when you let go of the string. Before releasing your bowstring, make sure that you maintain a firm grip on your arrow. Then, with a smooth and controlled motion, release your bowstring.
Conclusion
For some people, especially experts, picking up a bow and arrow is quite easy, but it is more challenging for others. Where you stand can very well depend on your ability to follow the proper steps. If you are a beginner, we suggest you start at the top of the list and follow it step by step.