Boarding up is necessary for every home to protect the interior from the adverse effects of storms. There is no scope to know the reason as it is evident how abandoned structures are boarding to prevent the architecture.
The meteorological department can forecast the path of an oncoming storm accurately providing some time for preparation. Many houses opt for storm-resistant windows being the expensive option though! Still using plywood for boarding up looks upon as a viable solution. Read on to know more reasons, times,s and steps to board up the property.
Which Material Works Best?
Basically, during planning plywood is perfect and you can get a 4X8 feet sheet for the job. This is affordable and always available in the market. Also, plywood possesses a greater impact in terms of strength than other available options. Check the thickness while you are about to buy.
As per the recommendation of Federal Alliance for Safe Homes (FLASH), you must take 5-8 inches of the thickness of plywood. The exterior grade quality can withstand against storm.
Collect the supplies prior to the threat of any upcoming storm. Otherwise it can cause potential damage to the property and possession. Before hanging cut it as per the necessary size to accomplish the task on time!
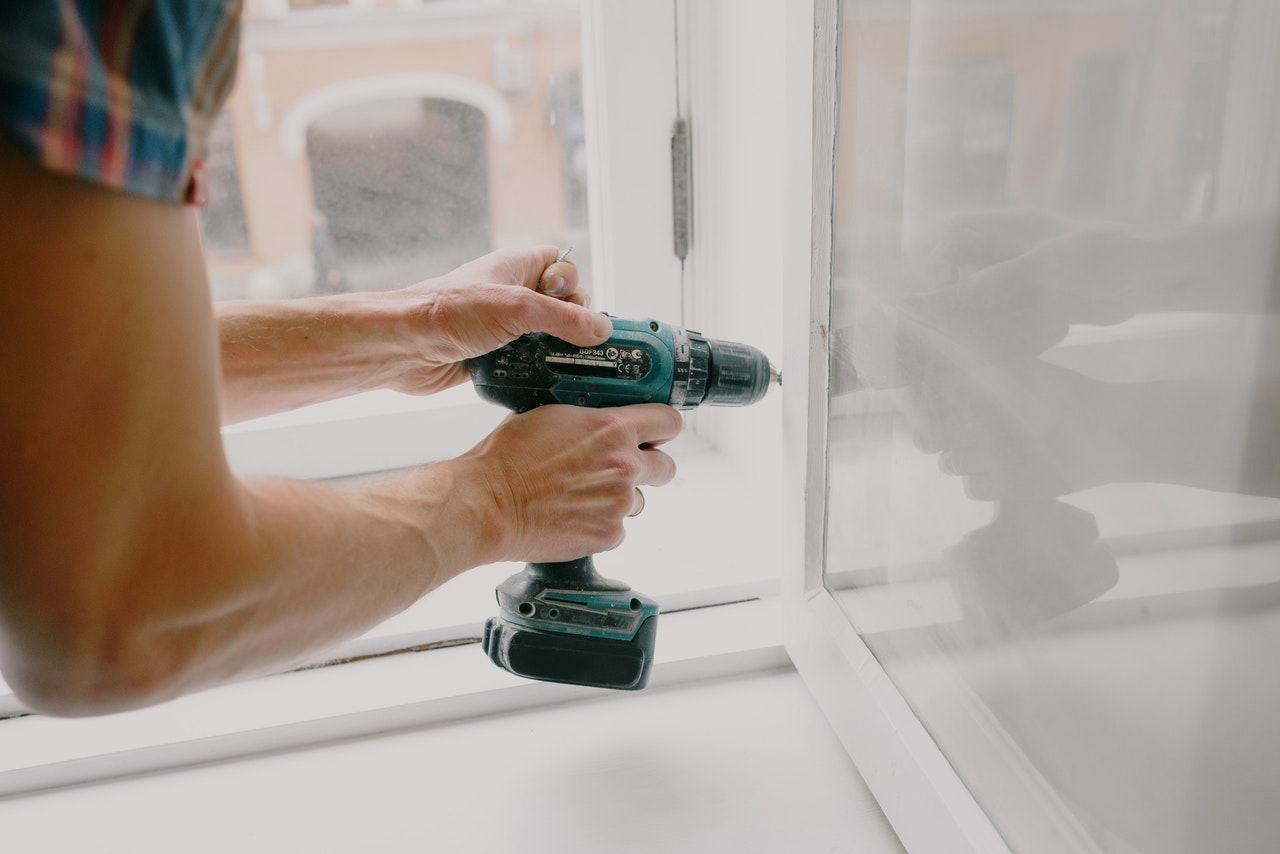
The Tools You need to carry out the Task
Plywood hanging deems for more tools over nails and hammers. You may need a circular saw and a hand saw will finish the task.
Additionally, you need the following tools too:
- Window anchors or clips
- Bolts or screws
- Nails
- Drills
- Measuring tape
- Ladder
Due to the short list, any DIYer can carry out the task easily. However, check out the tutorials online which can guide you through the step-by-step. Only this will ensure effective tasks. Otherwise, you can call the company providing emergency boarding up to take the charge of the task.
Take the Measurements
Firstly, you must take the measurement of every exterior door and window that had a glass. Then mix the figures to get right boarding material for gable, roof and vents too ensuring double protection.
Remember, your key aim is to resist the entrance of wind through any opening of the home. Afterward, you can remain safe during the storm. It will push the tornado-forced winds upwards to escape rather than allowing them inside. By this way, you can keep the flinging wind-borne dirt and debris at bay. It cannot endanger everyone’s health in the home at the same time.
You should ponder much attention to the attic as the wind tries to squeeze down through the crevices and cracks. By exerting consistent pressure it will rip the roof externally causing potential damage.
Prior to Cut- Remeasure
The construction industry completely relies on measurement. Remember precise measurement can make the project a great success and utter failure with a minor mistake. And mistakes in this industry can cost you hefty to get the things redone. In fact if there is shortage of supply in the market around miles then you have to deal with the storm in bad and miserable way.
Take the measurement of every opening for covering horizontally in the exterior trim and vertically from sill to bottom and to top trim. You must include 8-inch to both width and height while maintaining 4-inch overlapping. For windows with extended sill, take the measurement from sill top to window top and offer 4-inch to the sides instead of 8. Now collect all the necessary tools to finish the task.
Hang the Things Up
Take the help from your assistance for boarding up the windows. Remember it is a dual-person job. However, you must complete the task prior to pick up of the wind. Plywood is harder to hang up complicating the entire task. It can prove to be quite perilous as well.
Firstly, pre-drill the hole as per the diameter of screws or bolts each corner at an interval of 12-inch around the plywood including the corners. Then keep it in the place to mark for drilling the mounting holes perfectly
- If window sill flushes to wall install plywood on each side
- For extension of the window sill just place the plywood on the sides and top
Wood Frame Home
In case you own a wooden frame home with small windows than usual then plastic-coated anchors and lag screws are better for the installation of plywood. Lag screws will penetrate the frame and wall at 2 and ½ inches. Large windows need large screws. However, the penetration measurement will remain the same.
Masonry Home
Masonry homes have small windows with 1/4th inches expansion bolts. Also, they possess galvanised permanent expanded anchors for the installation of plywood. Bolts penetrate walls along surrounded window frame. By somehow, if your home has large windows then it needs lag screws to pin into the wall and frame respectively.
Doors and windows large than plywood sheets need to be joined 2 sheets by the seam so that it covers the full seam of the windows. Then attach the plywood panel from outside using galvanized screws. Ensure that there is a gap of 4 inch.
In case you have already planned for plywood covering then try to cover them up prior to the storm. Remember, minimal time is necessary for painting or sealing the plywood to make it waterproof.
Be on Time
After imposing evacuation order in the area, no mean to risk the safety of your family. Therefore, board up the windows firstly then hunkers. Then you can drive out of the area with your family and pets.
At last, if you face any such damages already then call 24 hour glazier to repair the glasses of windows and doors in no time. Otherwise, board them up temporarily to ensure sufficient security in the home.